
Welcome to the Honeywell Pro Series thermostat installation manual. This guide provides step-by-step instructions for installing, configuring, and using your new device to maximize home comfort and energy efficiency.
Importance of the Honeywell Pro Series Install Manual
The Honeywell Pro Series install manual is essential for ensuring a seamless and correct installation process. It provides detailed, step-by-step instructions to guide users through unpacking, wiring, and configuring their thermostat. By following the manual, homeowners can avoid common installation mistakes and ensure their system operates efficiently. The manual also includes troubleshooting tips and explanations of error codes, helping users resolve issues quickly. Additionally, it outlines advanced features like geofencing and smart alerts, enabling users to maximize energy savings and comfort. Whether you’re a DIY enthusiast or a professional, this manual is indispensable for optimizing your Honeywell Pro Series thermostat’s performance and functionality.
Key Features of the Honeywell Pro Series Thermostat
The Honeywell Pro Series thermostat stands out for its user-friendly design and advanced features. It offers programmable scheduling, allowing users to customize temperature settings for different times of the day. The thermostat supports geofencing, enabling location-based temperature control for enhanced convenience. Smart alerts and notifications keep users informed about system performance and potential issues. Additionally, it provides energy reports to help users track and reduce their consumption. Compatibility with voice assistants like Alexa and Google Assistant adds to its versatility. The Pro Series also features a sleek, modern design with an intuitive touchscreen interface. These features make it an excellent choice for homeowners seeking a balance between comfort, energy efficiency, and smart home integration.
System Requirements and Compatibility
The Honeywell Pro Series thermostat is compatible with most HVAC systems, including gas, electric, and heat pumps. It requires a C-wire and 24V AC power.
Compatibility with HVAC Systems
The Honeywell Pro Series thermostat is designed to work seamlessly with a wide range of HVAC systems, including gas furnaces, electric heaters, and heat pumps. It supports both single-stage and multi-stage systems, ensuring flexibility for various home configurations. Compatibility extends to conventional 24V AC systems, as well as newer smart home setups. However, certain systems, such as millivolt or high-voltage heaters, may require additional wiring or adapters. Always verify compatibility with your specific HVAC system before installation to ensure proper functionality; Refer to the manual for detailed specifications or consult a professional if unsure. Proper system matching is crucial for optimal performance and energy efficiency.
Necessary Tools and Materials for Installation
To ensure a smooth installation of the Honeywell Pro Series thermostat, gather the necessary tools and materials beforehand. Essential tools include a screwdriver set (both flathead and Phillips), pliers, wire strippers, and a voltage tester to verify power levels. You may also need a drill and drill bits for wall mounting. Materials required include the thermostat unit, mounting plate, screws, wall anchors, and wire connectors. Additional items like a ladder or step stool may be needed for safe access. Always refer to the manual for specific requirements, as some installations may demand extra components. Having all tools and materials ready ensures a hassle-free process and prevents delays during setup. Proper preparation is key to a successful installation.
Installation Steps
Install the Honeywell Pro Series thermostat by first turning off power, then mounting the plate, wiring, attaching modules, and performing final checks for proper operation.
Preparation and Unpacking
Begin by carefully unpacking the Honeywell Pro Series thermostat kit, ensuring all components are included. Verify the model matches your HVAC system requirements. Before starting, read the manual thoroughly to understand the process. Gather necessary tools, such as screwdrivers, drills, and a voltage tester. Ensure the installation location is accessible and free from obstructions. Turn off power to the HVAC system at the circuit breaker. Double-check that the thermostat is compatible with your system type (e.g., gas, electric, or heat pump). Organize the wiring and components to streamline the installation process. Plan the layout to avoid damaging existing wiring or walls. This preparation ensures a smooth and safe installation experience.
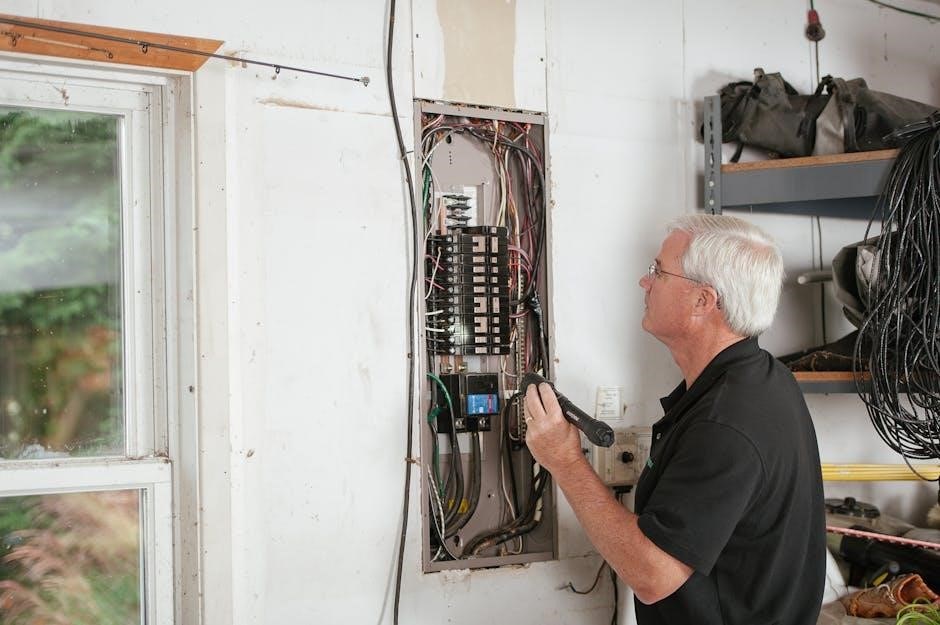
Turning Off Power and Safety Precautions
Before starting the installation, ensure the HVAC system’s power is completely turned off at the circuit breaker or main electrical panel. Verify the power is off using a voltage tester to avoid electrical shocks or accidents. Wear protective gear, such as gloves and safety glasses, when handling electrical components. Never attempt to work on live wires, as this poses serious safety risks. Identify the correct circuit breaker for the HVAC system and switch it off; avoid using the main breaker, as it may affect other essential systems. Follow all local electrical codes and safety guidelines. If unsure, consult a licensed electrician. These precautions ensure a safe working environment and prevent potential hazards during installation.
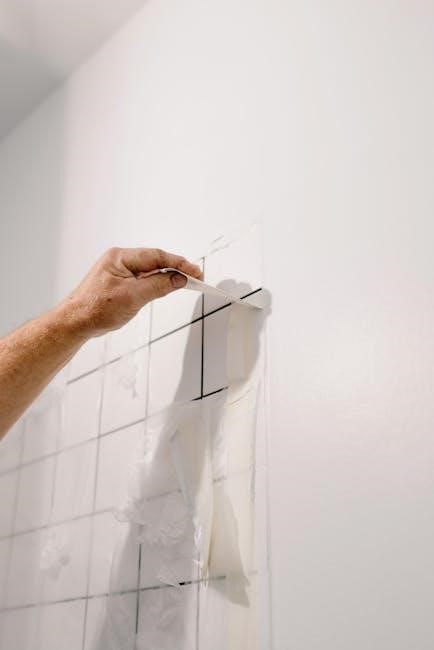
Mounting the Thermostat Plate
Begin by selecting a suitable location for the thermostat plate, ensuring it is level and away from direct sunlight or drafts. Use the provided wall template to mark the screw holes on the wall. Drill pilot holes if necessary, especially for drywall or plaster. Insert wall anchors into the holes for added stability. Align the thermostat plate with the marks and screw it securely into place using the provided screws. Ensure the plate is firmly attached and level before proceeding. Once mounted, the plate will serve as the base for the thermostat. Double-check the alignment and tightness of the screws for a secure installation. Proceed to the wiring step once the plate is correctly mounted.
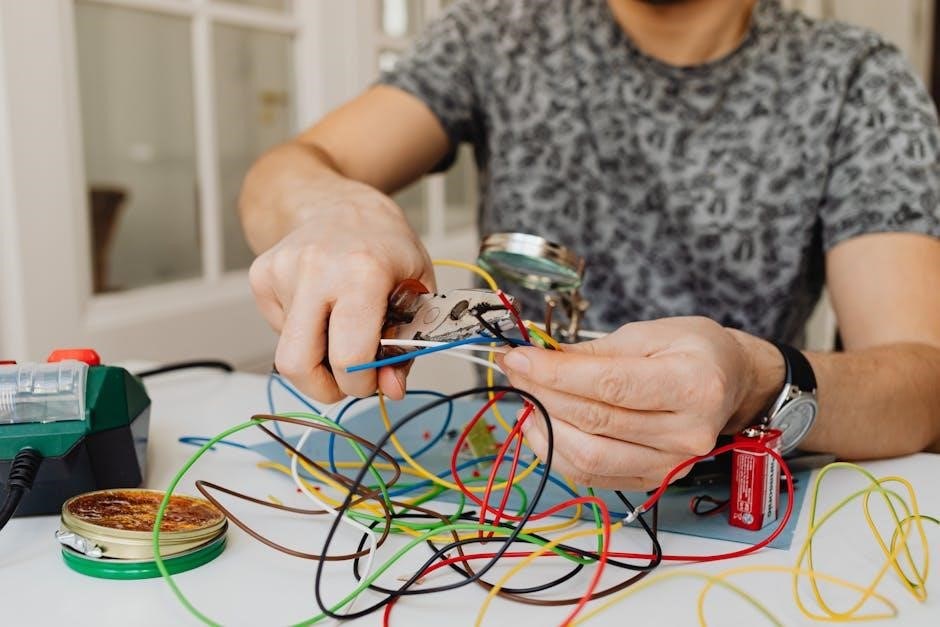
Wiring and Connections
Once the thermostat plate is mounted, proceed to connect the wires according to the Honeywell Pro Series wiring diagram. Ensure the HVAC system is compatible with the thermostat’s wiring configuration. Use a screwdriver to securely attach the wires to the corresponding terminals on the thermostat plate. Match the wires by color or label, referring to the manual for guidance. If your system uses a common wire (C-wire), connect it to the C terminal for continuous power. Double-check all connections for tightness and accuracy. Avoid crossing or pinching wires during installation. After wiring, turn the power back on and test the system to ensure proper functionality. Correct wiring is critical for the thermostat to control your HVAC system effectively.
Attaching the UWP Module
To attach the UWP (Universal Programmable) module, ensure the thermostat plate is properly mounted and the wires are securely connected. Align the UWP module with the thermostat plate, matching the mounting holes. Gently press the module onto the plate until it clicks or snaps into place. Use the provided screws to secure the module firmly. Ensure the module is flush with the plate for proper fitment. Once attached, double-check that all connections are stable and the module is level. Power on the system and test the module’s functionality to confirm it communicates correctly with the thermostat. If the module does not fit or function properly, refer to the manual for troubleshooting steps. Proper attachment is essential for optimal performance.
Final Installation Checks
After completing the installation, perform a series of final checks to ensure everything functions correctly. Verify that the thermostat is securely mounted and all wires are properly connected. Turn the power back on at the circuit breaker and test the thermostat’s basic operations, such as changing the temperature and switching between heating and cooling modes. Check that the display is clear and responsive. Review all connections to ensure they are tight and correctly configured. Confirm that the UWP module is securely attached and functioning as expected. Finally, ensure the thermostat is level and plumb to maintain accurate temperature readings. If any issues arise, refer to the troubleshooting section or contact customer support for assistance. Proper completion of these checks ensures reliable performance and safety.
Configuration and Programming
Configure your Honeywell Pro Series thermostat by setting up initial preferences, programming schedules, and enabling smart features for seamless operation and energy efficiency.
Setting Up the Thermostat for First Use
First, ensure the HVAC system power is off at the circuit breaker. Remove the old thermostat, labeling wires for reference. Mount the Honeywell Pro Series plate, ensuring it’s level and secure. Connect the wires to the corresponding terminals, then attach the UWP module for smart features. Restore power and follow the on-screen instructions to set language, date, time, and network preferences. Use the Honeywell Home app for guided setup, enabling features like geofencing and voice control. Program schedules for energy efficiency and convenience, adjusting settings as needed for optimal performance.
Programming Modes and Schedules
The Honeywell Pro Series thermostat offers flexible programming modes to suit your lifestyle. Choose from Heat, Cool, or Off modes, and customize schedules for daily and weekly use. Set temperature preferences for wake, leave, return, and sleep periods to optimize energy usage and comfort; Use the touchscreen or Honeywell Home app to create a 7-day schedule or repeat daily routines. Advanced features like smart recovery ensure the system begins heating or cooling early to reach your desired temperature by the scheduled time. Program geofencing to adjust settings based on your location, and receive notifications for temperature changes. These modes and schedules help maximize efficiency while maintaining consistent comfort levels throughout your home.
Connecting to Wi-Fi and Smart Devices
Connecting your Honeywell Pro Series thermostat to Wi-Fi and smart devices enhances its functionality. Start by downloading the Honeywell Home app and creating an account. Ensure your thermostat is powered on and select the “Set Up” option in the app. Choose your home Wi-Fi network, enter the password, and follow the prompts to complete the connection. Once linked, you can control the thermostat remotely, receive notifications, and integrate it with smart home systems like Amazon Alexa or Google Assistant. Voice commands allow hands-free adjustments, while the app provides real-time temperature monitoring and energy usage insights. This seamless integration elevates convenience and smart home automation, making temperature control effortless and efficient.

Advanced Features
The Honeywell Pro Series offers advanced features like geofencing, smart alerts, and energy reports, optimizing comfort and efficiency while integrating seamlessly with smart home systems and voice assistants.
Geofencing and Location-Based Control
The Honeywell Pro Series thermostat supports geofencing, allowing automated temperature adjustments based on your location. Using your smartphone’s GPS, the system detects when you leave or arrive home, optimizing energy usage. Set up a geofence radius around your home to trigger heating or cooling adjustments automatically. This feature ensures your home is comfortable when you arrive and conserves energy when you’re away. Customize settings to tailor temperature changes based on your schedule and preferences. Geofencing integrates seamlessly with smart devices, enhancing convenience and efficiency. This location-based control is a standout feature for modern, energy-conscious living, offering a balance of comfort and savings without manual adjustments.
Smart Alerts and Notifications
The Honeywell Pro Series thermostat offers smart alerts and notifications to keep you informed about your system’s status. Receive notifications for temperature adjustments, system errors, or maintenance reminders directly on your smartphone or tablet. Customizable alerts ensure you stay updated on your HVAC system’s performance, helping you address issues promptly. The thermostat also sends notifications when it enters recovery mode or detects unusual energy usage patterns. These alerts enhance system reliability and energy efficiency, allowing you to take proactive steps. With real-time updates, you can monitor and control your home’s comfort settings effortlessly, even when you’re not physically present. This feature ensures peace of mind and optimal system operation year-round.
Energy Reports and Savings Features
The Honeywell Pro Series thermostat provides detailed energy reports to help you track and manage your energy usage. These reports offer insights into your heating and cooling patterns, allowing you to identify opportunities for savings. The thermostat also features smart algorithms that optimize energy consumption based on your schedule and preferences. With energy-saving modes, you can reduce waste during periods of inactivity or when temperatures are at optimal levels. Additionally, the system integrates with smart devices, enabling remote monitoring and adjustments to further enhance efficiency. By leveraging these features, you can lower your energy bills while maintaining comfort, making the Honeywell Pro Series a cost-effective and eco-friendly solution for home climate control.
Integration with Voice Assistants
The Honeywell Pro Series thermostat seamlessly integrates with popular voice assistants like Amazon Alexa and Google Assistant, offering hands-free control for enhanced convenience. Users can adjust temperatures, switch modes, or receive system updates using simple voice commands. This integration allows the thermostat to function as part of a broader smart home ecosystem, making it easier to manage multiple devices simultaneously. The setup process is straightforward, typically handled through the Honeywell Home app, ensuring compatibility and smooth operation with voice-enabled devices. By enabling voice control, the Honeywell Pro Series enhances user experience, providing modern and efficient home climate management that aligns with smart home lifestyles.
Troubleshooting Common Issues
Identify and resolve common issues like display malfunctions, connectivity problems, or temperature inaccuracies by checking wiring, restarting the system, or consulting the Honeywell Pro Series manual.
Common Installation Mistakes
Ensure proper wiring connections, as incorrect wiring is a frequent issue. Verify that the power is turned off before starting installation to avoid electrical hazards. Check that the thermostat plate is securely mounted and level. Make sure all necessary tools and materials are available beforehand. Avoid forcing wires into connectors, as this can damage the system. Double-check compatibility with your HVAC system to prevent operational issues. If the UWP module is not attached correctly, it may cause connectivity problems. Refer to the Honeywell Pro Series manual for specific guidelines. Test the thermostat after installation to identify and address any issues promptly. Consult online support if mistakes persist.
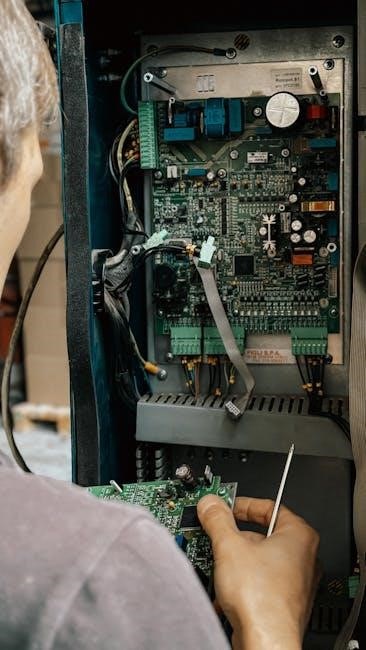
Understanding Error Codes
Error codes on the Honeywell Pro Series thermostat indicate specific issues, helping users identify and resolve problems quickly. Codes like E1, E2, or E3 often relate to temperature sensing or wiring faults. Others, such as E30 or E31, may signify communication errors with the UWP module or Wi-Fi connectivity issues. Always refer to the manual for code definitions, as they vary by model. If an error persists after troubleshooting, restart the thermostat or reset it to factory settings. For unresolved issues, contact Honeywell support for assistance. Understanding these codes ensures optimal performance and minimizes downtime. Regular updates and proper installation can reduce error occurrences. Always follow the manual’s guidance for accurate diagnosis and solutions.
Resetting the Thermostat
Resetting the Honeywell Pro Series thermostat restores it to factory settings, resolving configuration issues or preparing for a new installation. To reset, navigate to the settings menu via the touchscreen, select “Advanced” or “Factory Reset,” and confirm the action. Some models may require pressing and holding specific buttons for 10-15 seconds. After resetting, all custom settings, schedules, and Wi-Fi connections will be erased. The thermostat will reboot and display the initial setup screen. Ensure the system is powered on and connected to your HVAC before proceeding. If issues persist, consult the manual or contact support. Resetting is a useful troubleshooting step to ensure proper functionality and compatibility with your system.

Maintenance and Care
Regularly clean the thermostat with a soft cloth to ensure proper functionality. Check for software updates and install them promptly. Replace batteries as needed and avoid exposure to direct sunlight or moisture to maintain performance and accuracy.
Cleaning and Upkeeping the Thermostat
Regular cleaning ensures optimal performance and longevity of your Honeywell Pro Series thermostat. Use a soft, dry cloth to wipe the display and exterior surfaces. For stubborn marks, lightly dampen the cloth, but avoid liquids directly on the device. Avoid harsh chemicals or abrasive materials that could damage the touchscreen or finish. Periodically inspect and clean the temperature sensor and vents to ensure accurate readings. Check for firmware updates to maintain functionality and security. Dust buildup can affect performance, so gently clean the thermostat’s edges and mounting plate. Avoid exposing the device to direct sunlight or moisture. Schedule annual professional HVAC system checks to ensure the thermostat operates efficiently and accurately.
Software Updates and Firmware
Keeping your Honeywell Pro Series thermostat updated with the latest software ensures optimal performance, security, and access to new features. Regularly check for firmware updates through the thermostat’s menu or the Honeywell Home app. Updates are typically automatic if enabled, but manual checks are recommended. A stable Wi-Fi connection is required for downloading and installing updates. Never power off the thermostat during an update to prevent system corruption. Updated firmware enhances functionality, improves compatibility, and fixes potential bugs. Always verify the update source to avoid unauthorized software. For assistance, refer to the Honeywell support portal or contact customer service. Updating ensures your thermostat stays current and operates efficiently.
Battery Replacement and Management
The Honeywell Pro Series thermostat typically operates on AA alkaline batteries, which ensure reliable performance. Batteries usually last up to 5 years, depending on usage and settings. When the battery level is low, the thermostat will display an alert. To replace the batteries, turn off the power at the circuit breaker to avoid electrical shock. Remove the front plate by gently pulling it away from the wall. Take out the old batteries and insert the new ones, ensuring correct orientation. Reattach the front plate and restore power. Proper battery management prevents system downtime and maintains thermostat functionality. Dispose of old batteries responsibly. Regular checks ensure uninterrupted operation and optimal performance of your Honeywell Pro Series thermostat.

Additional Resources
The Honeywell Pro Series Install Manual provides additional resources such as online support, downloadable guides, and community forums to assist with installation and configuration needs for optimal performance.
Online Support and Customer Service
Honeywell offers comprehensive online support and customer service resources to assist with the Pro Series installation. Users can access 24/7 live chat, email support, and phone assistance for immediate help. The official Honeywell website provides detailed troubleshooting guides, tutorial videos, and downloadable manuals to address common issues. Additionally, the Honeywell Home app features a help section with FAQs and step-by-step instructions. For complex problems, certified technicians are available for on-site support. The platform also includes a community forum where users can share experiences and solutions. Honeywell’s dedicated customer service ensures seamless installation and operation of the Pro Series thermostat, enhancing overall user satisfaction and system performance.
Frequently Asked Questions
- Is the Honeywell Pro Series compatible with my HVAC system? Yes, it supports most standard HVAC systems, including heat pumps and dual-fuel systems.
- What tools do I need for installation? Basic tools like a screwdriver, wire strippers, and a level are required.
- Can I install the thermostat myself? Yes, but ensure you follow safety guidelines and manual instructions carefully.
- Why isn’t my thermostat connecting to Wi-Fi? Check your network settings and ensure the thermostat is in range of your router.
- How do I reset my thermostat? Remove the batteries for 10 seconds, then reinstall them to reset.
For more detailed answers, refer to the official Honeywell Pro Series manual or contact customer support.
Warranty Information
The Honeywell Pro Series thermostat comes with a comprehensive warranty to ensure customer satisfaction and product reliability. The standard warranty period is typically 5 years for parts and labor, covering defects in materials and workmanship. However, this may vary depending on the specific model and region. To maintain warranty validity, ensure proper installation as per the manual and avoid unauthorized modifications. For warranty claims, contact Honeywell’s customer support with proof of purchase and a detailed description of the issue. Extended warranty options may also be available for additional protection. Always refer to the official Honeywell website or consult the provided documentation for precise warranty terms and conditions.
The Honeywell Pro Series thermostat installation process is designed to be straightforward and efficient, ensuring seamless integration with your HVAC system. By following the detailed steps outlined in this manual, you can confidently set up and configure your thermostat to optimize comfort and energy savings. The advanced features, such as geofencing and smart alerts, enhance your control over your home’s climate. Should you encounter any issues, Honeywell’s comprehensive support resources and warranty program are available to assist. With proper maintenance and care, your Honeywell Pro Series thermostat will provide reliable performance for years to come, offering a smart and efficient solution for your heating and cooling needs.